1. Decide the destination when a reader finishes the page
First, write one sentence about what a reader should know, feel, and want to see next after finishing the page. If the purpose is that the protagonist makes a decision, you have a clear reason to place panels that gather information, show hesitation, and capture the decision. Packing too many events into one page weakens the moment you want to emphasize.
Then decide what information belongs in the final panel. An answer, the direction of a gaze, unfinished dialogue, or the start of an action can pull the reader into the next page. A pull does not need to be a major event; a character's small hesitation can create one too.
- Write the page's understanding and emotion in one sentence
- Decide what information remains in the last panel
- Choose one necessary change for each page
2. Arrange panel roles along the reading order
Japanese manga is generally read from right to left and from top to bottom. Before deciding panel shapes or sizes, use arrows to confirm which panel the reader will see first. A character's gaze, hand movement, background lines, and speech-bubble placement can all help guide the eye into the next panel.
Give each panel one main role: establish a location, show an action, capture an expression, show an object, or skip time. If a panel needs multiple roles, divide it or decide which one takes priority. When the reading order is unclear, the content becomes difficult to follow even if the art is appealing.
- Confirm reading order with arrows
- Give every panel one main role
- Align character gaze with speech-bubble order
3. Match panel size and framing to emotional intensity
A large panel creates room for an impression of place, an important action, or an emotional turn. Smaller panels suit a sequence, exchanged glances, the beat of conversation, or subtle reaction. Differences in size are not decoration; they show where reading should slow down and where it should move quickly.
The same applies to framing. A distant shot shows the relationship between people and place, while a closer shot emphasizes emotion or a clue. A page with only one visual distance can feel flat, so vary distance according to the purpose of the scene. Check, however, that changes in framing do not make character position or direction difficult to understand.
- Use panels with room around important moments
- Break conversation or steps into smaller beats when needed
- Choose distant, full-body, and close shots by scene purpose
4. Edit dialogue for reading speed and character voice
Before writing dialogue, check what the image already conveys. If a character is shown opening a door, dialogue does not need to explain that they opened it. Let words carry intent, relationships, hesitation, or misunderstanding that the image cannot show. Giving each speech bubble one idea makes bottlenecks easier to find when rereading.
The same content can work differently in short or spaced-out speech: brief words can strengthen a decision or shock, while pauses can create tension or intimacy. Compare each character's vocabulary and way of ending a statement with their character setting, and ask whether you could imagine who is speaking without the bubble. When there is too much text, split it, let the image carry part of it, or move it to the next panel.
- Remove explanations the image already makes clear
- Put one idea in each speech bubble
- Choose words that fit character vocabulary and relationship
5. Test AI proposals as page-layout drafts
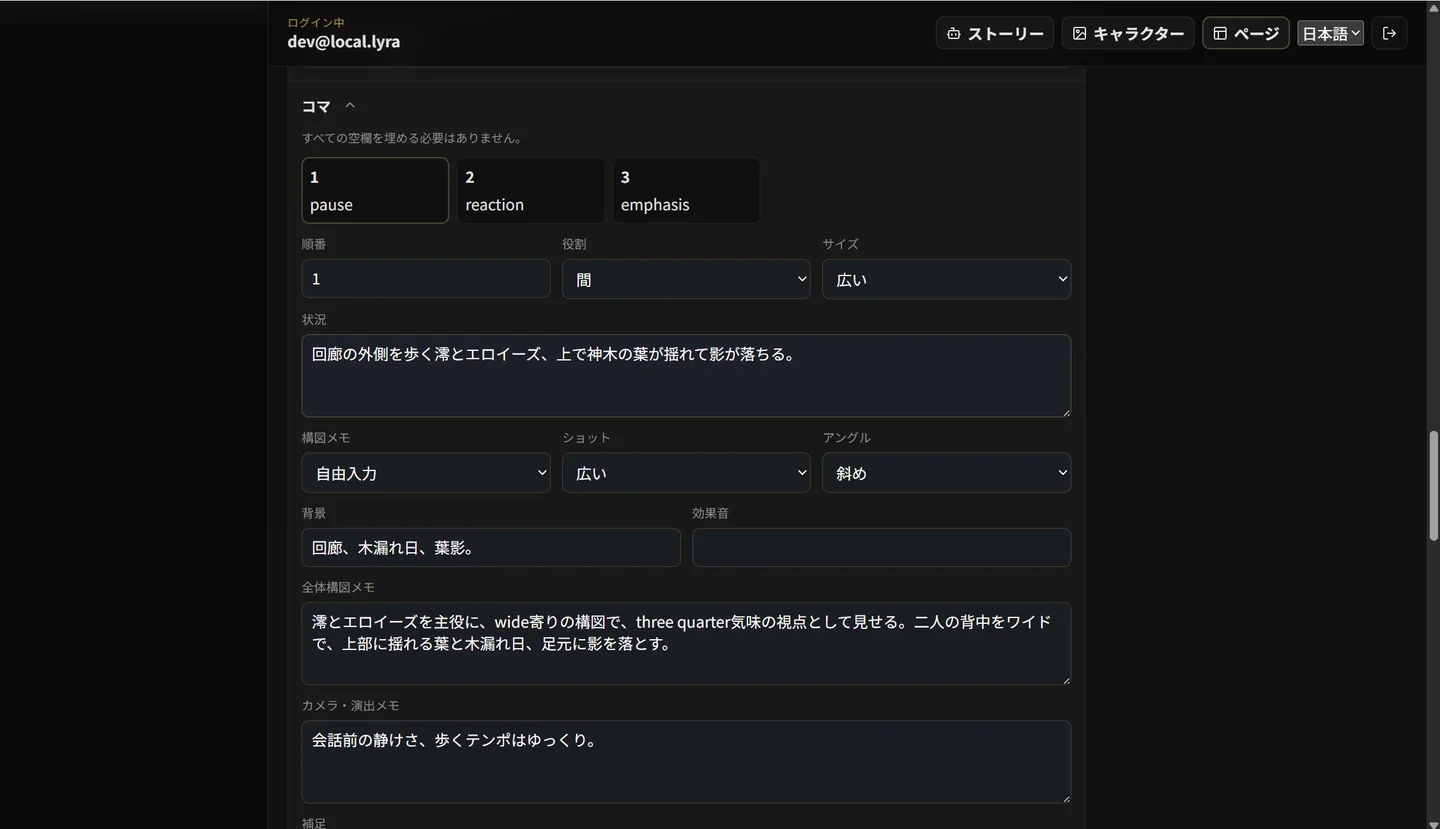
In Lyra, you can edit AI-proposed panel content, characters, backgrounds, camera angles, and dialogue. When you receive a proposal, first compare it with the page purpose and reading order, looking for unnecessary explanation or missing reaction. Organizing information that can be revised before generation reduces story problems that are hard to fix through image appearance alone.
After generation, check whether the reading order remains clear at thumbnail size, whether speech bubbles cover characters or important images, and whether the dialogue sounds natural when read aloud. Composition and dialogue placement may not match your intention, so revise from the parts that prevent the page from serving its purpose. When handling real works or third-party material, make the required rights checks and review Lyra's notices and terms for usage guidance.
- Compare page purpose and reading order first
- Check readability at thumbnail size and by reading aloud
- Revisit settings or directions starting with the problematic panel